Calculate the Right Amount of Trim and Avoid Waste

Calculate the Right Amount of Trim and Avoid Waste
Trim is the finishing touch that gives any room a polished, professional look. It creates smooth transitions between walls, floors, and ceilings, and adds character to your home. But when it comes time to buy trim, many homeowners end up purchasing either too little or far too much. That means extra trips to the hardware store or unnecessary waste. With a bit of planning and accurate measurements, you can avoid both. Here’s a step-by-step guide to help you calculate the right amount of trim for your next project.
Start with Accurate Measurements
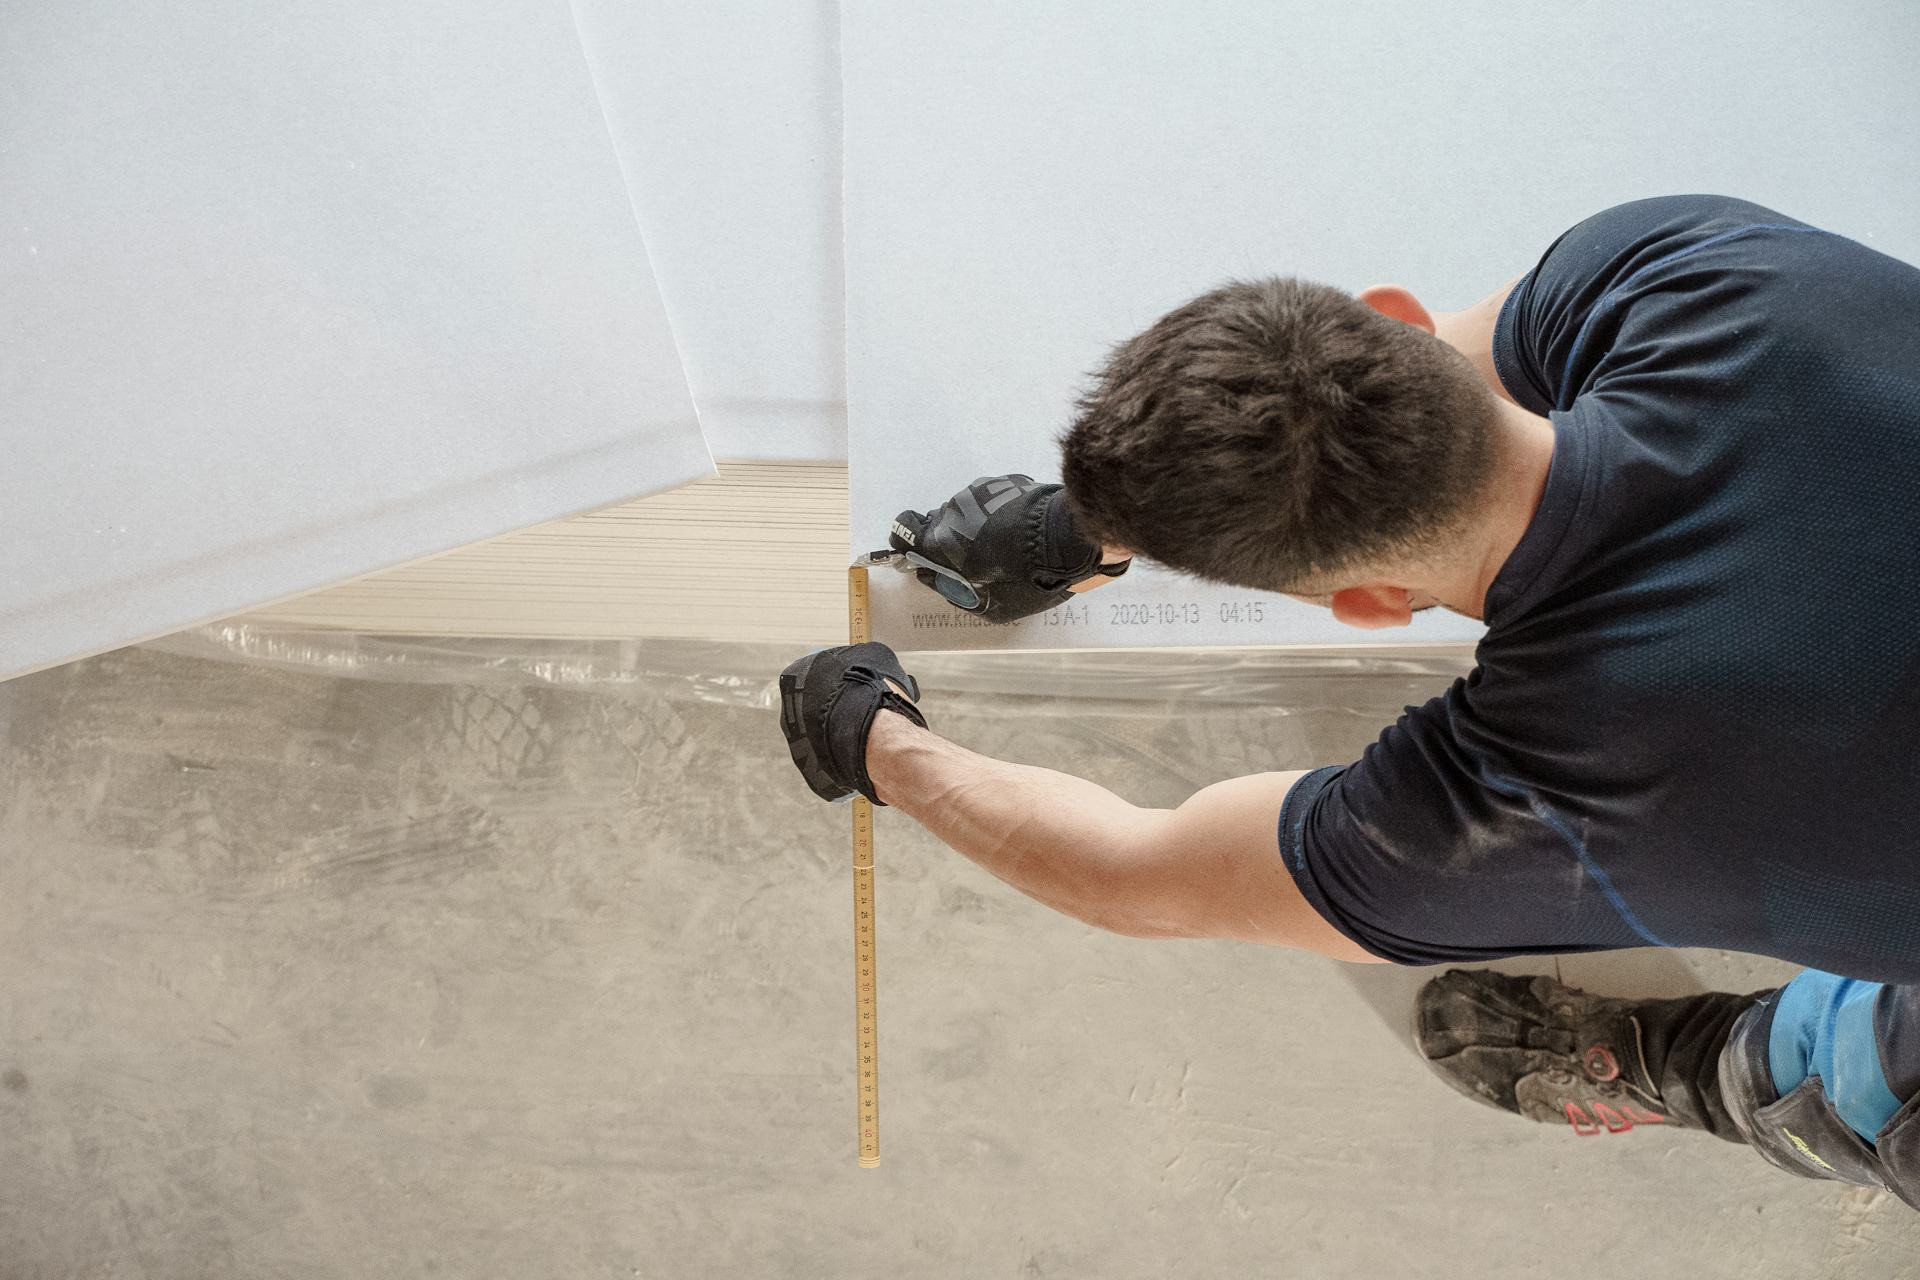
Begin by measuring the perimeter of the room. Use a tape measure and note the length of each wall. Be sure to account for doorways, windows, and any alcoves—both where trim is needed and where it isn’t.
A helpful tip is to sketch a simple floor plan and write the measurements directly on it. This visual reference makes it easier to double-check your math later and reduces the risk of mistakes when calculating how much trim you’ll need.
Calculate the Total Length
Once you’ve measured all the walls, add the lengths together to find the total perimeter of the room. That number represents the total linear feet of trim you’ll need as a starting point. But don’t stop there—you should always add a little extra.
A good rule of thumb is to add 5–10% more to account for cutting waste, mistakes, and adjustments. Corners and angled cuts often result in small offcuts that can’t be reused, and it’s frustrating to come up short at the end of the job.
Example: A room that’s 12 by 15 feet has a perimeter of 54 feet. Adding 10% brings your total to about 60 feet of trim.
Know the Standard Trim Lengths
Trim is typically sold in standard lengths—most commonly 8, 10, or 12 feet. Once you know your total requirement, it’s easy to figure out how many pieces you’ll need.
In the example above, if you need 60 feet of trim and each piece is 8 feet long, you’ll need 8 pieces (60 ÷ 8 = 7.5, rounded up to 8). It’s always better to have one extra piece than to run short.
If your project includes different types of trim—such as baseboards, crown molding, and door casings—calculate each type separately. This gives you a clearer picture of what to buy and helps you stay organized.
Account for Corners and Joints
Corners require precision, and they often lead to a bit of extra waste. For inside corners, trim pieces are usually cut at a 45-degree angle to fit neatly together. Each cut removes a small amount of material, so it’s wise to plan for that.
If your room has many corners or irregular walls, consider adding 10–15% extra instead of 5–10%. This is especially important in older homes, where walls may not be perfectly straight and small adjustments are often needed.
Plan Your Joints Strategically
Once you know the length of each trim piece, plan where the joints will fall. Try to avoid placing joints in highly visible areas—behind furniture or near corners is usually better. This not only looks cleaner but also makes the seams less noticeable.
Think ahead about how to use leftover pieces. A short offcut from one wall might fit perfectly on another. With a little planning, you can minimize waste and save money.
Choose the Right Type of Trim
Trim comes in a variety of materials, including solid wood, MDF, PVC, and polyurethane. The best choice depends on the room’s style, humidity level, and your budget. For example, moisture-resistant materials are ideal for bathrooms and basements, while wood trim adds warmth and character to living spaces.
Keep in mind that different materials may come in slightly different lengths or profiles. Always check the product specifications before making your final calculations and purchase.
Reduce Waste and Build More Sustainably
Calculating accurately isn’t just about saving money—it’s also about reducing waste. Careful planning and smart use of leftover pieces can significantly cut down on material use. If you do end up with extra trim, consider using it for smaller projects, such as framing mirrors, shelves, or accent walls.
When disposing of scraps, sort them properly. Wood, MDF, and plastic trims should be recycled or disposed of according to your local waste management guidelines.
Precision Leads to a Professional Finish
Trim may seem like a small detail, but it has a big impact on the overall look of a room. With precise measurements, realistic calculations, and a bit of forethought, you can achieve a beautiful, professional result—without unnecessary waste or extra expense.
So next time you pick up your tape measure, take a few extra minutes to plan carefully. It’s a small effort that pays off in both quality and sustainability.